Wednesday, September 21, 2011

Where I am Partying this week

Check out where I am Partying this week! SO MANY idea's, not enough time! Go have a look around! You will not be disappointed!


Thais

Monday, September 19, 2011

Some more free time...

WOW! What a crazy week/end last week! There has been a lot of changes, and now I have a ton more free time. And with my new found free time I am going to be doing a little sprucing up around the house, unpack the rest of the boxes from when we moved in over a year ago, my husband we have a lot of stuff that needs to be found a new home, and I want to make a few things to get a little more organized and make it more "our" home than the standard issue military housing. I am sure I will get done just in time for us to move on to our next destination, but hey at least it will be done.
So the first thing on my list is my ugly old wooden rocking chair via 1960's that I can't bring myself to throw away because I rocked all 4 of my baby's in. I sanded it and started to paint it yesterday. I am not sure if I am going to like it but anything is better than the way it looked before. I will share pictures of before and after when it is done.
In the mean time anyone want to share what you do to make your home more personal when your limited?

I hope everyone has a good week!

Thais

Thursday, September 15, 2011

Enough of the Shame!

  I have been reading it seems like for the last 7 years on the Internet about the Boobies VS Formula Grate Debate. When I was pregnant with #4 I started to fallow a lot of Mommy Blogs to get "in the know" about the newest products, feeding trends and birthing options. But what I found most of the time was JUDGEMENT, judgment on how another Mom chose to feed her infant and weather a certain Mommy blogger accepted "blood money" for advertising formula on her blog or from a company she writes for who allowes formula advertising on theirs. My first thought was REALLY!?! Who are you to tell another Mother what to feed her child? Or what is best for her or her child? And most importantly we are all MOTHERS, we know how hard it is and how much shame you already feel when your baby refuses to latch, or is still screaming for more milk after hours of nursing, or pumping for 30-45 minutes to come away with only a few drops. Then you turn to the Internet in search of help and this is what you find.? More Mothers SHAMING you because "everyone can breastfeed if they just tried".

Well you know what? I tried and I FAILED, 4 times!

I am going to tell you a little story about my Boobies


These are my boobies, all 42 DDD of nursing goodness, so you would think, or I at least thought. We have had some good times together. They have gotten me out of speeding tickets, into bars without waiting in line or having to pay a cover charge, and I am sure they are the reason my Husband married me. But OHHH, how they have betrayed me!

When I found out I was pregnant with #1 I thought I have this! Look at these things, I will be able to nurse without a problem! Then a mere 4 months after she was born they stopped working and my milk was dried up. I was sad, but I thought I can try again with the next one.

When #2 followed a short 11 months later I was determined to try again!! 6 months later after making it through exclusively pumping for the first 4 months, my milk dried up. This time it was a little harder. I was fed all the nursing propaganda with the blissful pictures of Mommy's nursing their 2 year old in the park and had thought that is going to be me! I am going to do it this time! And for the first time I felt shame for not being able to nurse my baby for a full year.

3 years later came #3. This time the propaganda was EVERYWHERE! In every magazine, website, blog... And I thought I have to do it this time! I have to! Everyone else can, why can't I? I bought every book on nursing, went to a few La Leach League meetings before I had him, had my midwife check them to make sure they were tuned up and ready, all lights were a go, there was no reason why I wouldn't be able to! After he was born I didn't let the nurses or pediatrician take him out of the room and had them do their exams in my room. I stayed 3 days in the hospital just to be sure we had latching down and my milk was in before we went home. Everything was perfect! Then 3 months into it it started to happen again! I went back to my midwife and asked for help, what was I doing wrong? NOTHING! I was doing nothing wrong. He prescribed me a medication to help increase my milk and told me to nurse or pump every 2 hours. I continued to do that for another 2 months. Until I was so depressed, and felt so much shame that I wasn't woman enough to nurse my baby that I needed to see a counselor. And when the first thing she told me was to quit, I about freaked out! How can she tell me that? But I did. I quit with a heavy heart and my head hung low, I did the walk of shame into the local Wal-Mart at 2 am so no one would see me buying poison for my baby.

2 years later I gave birth to #4, I had hope that maybe this time the stairs and planets will align and THIS time it will be my turn to make it a full year. It had to work! This could be my last chance! 2 weeks after he was born I had mastitis in both my breasts. I spent hours crying, not because my boobies were black and blue from the swelling or the fact it felt like someone was trying to pull my insides out through my nipples but because I had to nurse my baby! I had to make this work! But yet again after 5 months my milk started to dry up. I called a lactation consultant and she gave me a hole list of herbs to take.. Fenu Greek, Blessed Thistle, Brewers Yeast, Mothers Milk Tea, Probiotics, right after a feeding pump for 20 minutes, wake up every 2 hours at night to pump if the baby doesn't want to eat, use a assisted nursing system to help the baby latch longer to stimulate more milk production, go see your Dr. and get another prescription... I went around smelling like a herb garden and maple syrup with a bad taste in my mouth, a yeast infection, tubes taped to my boobs, raw nipples, and in serious need of a nap all to have the pediatrician tell me at 6 months my baby was failure to thrive and I was giving him formula. Now his failure to thrive wasn't all because I wasn't making enough milk, but hearing those words after doing everything you could is enough make you have a really CRAPPY week. I was ashamed to feed my baby a bottle in public. Every time I went to the store to buy formula other Mothers looked at me with so much judgement and with the doesn't she know breast is best look.? Or, OMG she is feeding her baby Formula! When I saw other mothers nursing their babies I would think, "why can't that be me?"

It took me a while to be able to hold my head high and now after everything I can look back and know I tried my best. And to tell you the truth if and/when I ever decide to have another baby I WILL NEVER put myself through any of that EVER again!


I have seen the shame in other mothers eyes who could not nurse for one reason or another. Listened when she told her story and herd the pain in her voice, and all I can think is why? Don't we as mothers and wife's have a hard enough time without this added pressure? I understand the need to get your message across, but FEAR, SHAME and JUDGEMENT should NOT be a advertising tool! Because all it says is you think women are to stupid and uneducated to be able to make the choice for ourselves so you have to scare us into making YOUR choice.

Yes, Breastfeeding is the best thing you can give your baby, but if you can't do it like the thousands of mother out there that can't either, IT"S OK! You showed up, gave it hell and tried your best, and that is ENOUGH! Don't hate yourself or your boobs! Don't feel shame because you couldn't do it a month, 6 months or a full year! Know that you did what you could and be OK with that! Display that can of formula proudly in your shopping cart, don't hide it behind your other groceries!

I think it's time woman speak up and said enough is enough! Brest is Best, but THANK GOD for Formula! And you are not going to make me feel inferior anymore! Just because I gave my babies formula doesn't mean I love them any less, it means I love them even more because I was willing to accept defeat and do what was right for them.

What is your nursing story? Or Formula feeding story?

Thais

Wednesday, September 14, 2011

Sandwich wraps and my smart friend Paige

    Why is it that no matter how early you start getting things ready for back to school that you are always srambling at the last minute to get everything done? Or maybe it's just me...
But now that school here has been back in session for a good month I have finally had time to finish up a few things I wanted to sew for the kids.


   First on my list to share is going to be reusable sandwich wraps and snack bags that really are food safe!
But I can not take all the credit for the in genus idea, my friend Paige, last year was looking for a food safe material to make some with, but I never asked what she found. So it wasn't until this summer that I saw her's and asked what she used on the inside, when she told me I had a definite "DUH" moment. So I am going to show you how to make them my way. Paige doesn't have a tutorial up for how she made her's but I am sure if you want to see a different way to make them and ask really nice she would be happy to share with all of you!

  First you want to gather everything you will need.

*Fabric= I used 100% cotton scraps my friend Lea gave me in payment for sewing a purse out of her husbands uniform for her, but you can use oil cloth, flannel, polyester blends or anything you have laying around the house, but remember it's going to be next to food. 
*Matching thread
* Straight pins (You are going to need these for sure!!)
*Scissors 
*Ruler
*Washable Marker
* And Freezer bags! ( my DUH! moment) 


Cut the top seal off of your freezer bags and the side seam. For your sandwich wrap cut your bag in half cross the bottom fold, for the freezer bags you are going to use for your snack bags just cut off the top and sides and set them aside. 
We are going to make the sandwich wrap first. Take whatever fabric you are going to use and lay it it out right side up (You want the design facing you) then lay one of the sides of the freezer bag you cut in half on top of your fabric and pin it all the way around, I put a few pins in the middle as well to make sure it will all stay in place.  Once it is all pinned in place cut your fabric just a little bit bigger all the way around use in case there is any shifting when you are sewing it.

Next cut out whatever size you want your snack bags to be out of the freezer bags. Remember you are going to loose about a inch off of the length for your flap on the top. Then lay out your fabric, pin and cut your fabric just as you did for the sandwich wrap

Now you are going to sew your sandwich rap. It's important to have the freezer bag side on the TOP! It makes it so much easier to sew and you get less sliding round. 
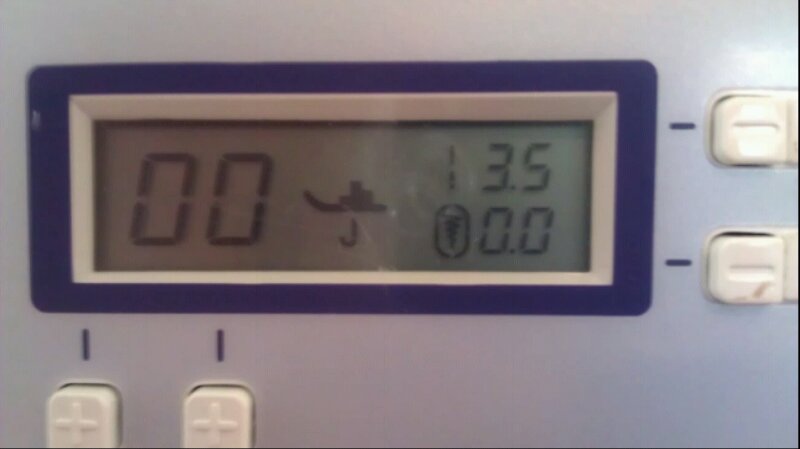
Also make sure your stitch length is set to a 2.5

Stitch all the way round leaving a opening big enough for you to get a finger in. TIP: Make sure you back stitch on both sides of your opening so it doesn't unravel when you turn it inside out.

Cut the corners likes above so when you turn it right side out your corners will be nice and pointy, just be careful not to cut across you stitches., then turn it right side out. TIP: I use a straight pin to pull out and corners that I cant push out with my finger. 

Once you have turned it right side out you can press the edges with your finger to make a crease and flatten it all out. Now you are going to top stitch all the way around. I always start with the opening I left, make sure to tuck both pieces inside and pin in place if you need to. 

I used a 3.5 stitch length to top stitch but you can use a 5 if you would like.

When you have top stitched all the way around fold two opposite corners into the middle like this and crease with your fingers.

Now fold the other two corners into the middle and crease with your finger. You can either leave it like this or add hook and loop or snaps.

I am going to use snaps only because hook and loop is my Arch Nemesis ( you can buy snaps at www.KAMSnaps.com). Find where you would like to place either your snap or hook and loop and mark it some how, remember you want to leave enough room for your sandwich to fit. Once you have made your marks place your snap or sew your hook and loop.

Now you have a cute little sandwich wrap! To clean I just wipe it with a dish cloth with a little bit of soap and rinse, I wouldn't suggest putting it into the dish washer or washing machine.  

Now we are going to make you snack bags. You should have already cut everything out and pinned it so all you have to do is sew.  Sew the top and bottom (the parts that will be the two ends at the opening), trim your edges and turn right side out and crease the edges with your finger and pin everything down if you need to.


Again top stitch just the top and bottom.

Now fold the top over about a inch to form your flap and hold in place.

Then bring your bottom over and line it up with the top of the fold you just made with your flap underneath it and pin in place. 

When you are done folding everything you want it to look like this. TIP: If you are not used to sewing slippery material use more pins than the 2 I did! Because you have to freezer bag on the top and bottom it will shift more than it did before so put as many pins as you think you will need to hold it all in place.

Sew your two raw sides starting at the bottom, make sure to back stitch when you start and stop. Trim your edges and turn right side out. I also used snaps on my bags to keep the flaps colsed, but you can leave it as is or add hook and loop before you sew the sides together.

 Now you have a cute set of reusable lunch stuff the will hopefully last the school year!

I also made all of these with extra scraps I had.

This is a easy, fast and cheap beginner project. It took me about a hour to make all of the snack bags and about 6 sandwich wraps.

Good luck! Let me know if you have any questions.

Thais

Saturday, September 10, 2011

Check out where I am PARTYING!!

Today I had some extra time and I thought I would go check out some link party's to get some ideas for fall and Halloween and enter a few. OMG! There are so many cute things out there just waiting for me to make! If you are looking for some awesome ideas go check out the links below.


A Vision to Remember

Craft Envy

It's FUN to craft!

Also, don't forget to come back next week for my tutorial on how you make food safe reusable snack bags. Thais

Friday, September 9, 2011

Broken Arms SUCK! And a Sling Tutorial

  Yesterday Prisoner #1 had a run in out on the play ground at school, needless to say the monkey bars won.

She was such a big girl! And so brave!
   I think she keeps getting hurt for the ice cream she gets after. But really, this kid has the worst luck! Thank God for crappy socialized medicine  Tricare or I would have payed for a new wing at the hospital by now.
   So when it was time to leave the nurse came in with one of the standered blue hospital issue slings. She takes one look at the sling then looks at me like, they don't expect me to actually ware this out in public do they? She is her mothers child because their is no way I would EVER ware that thing!
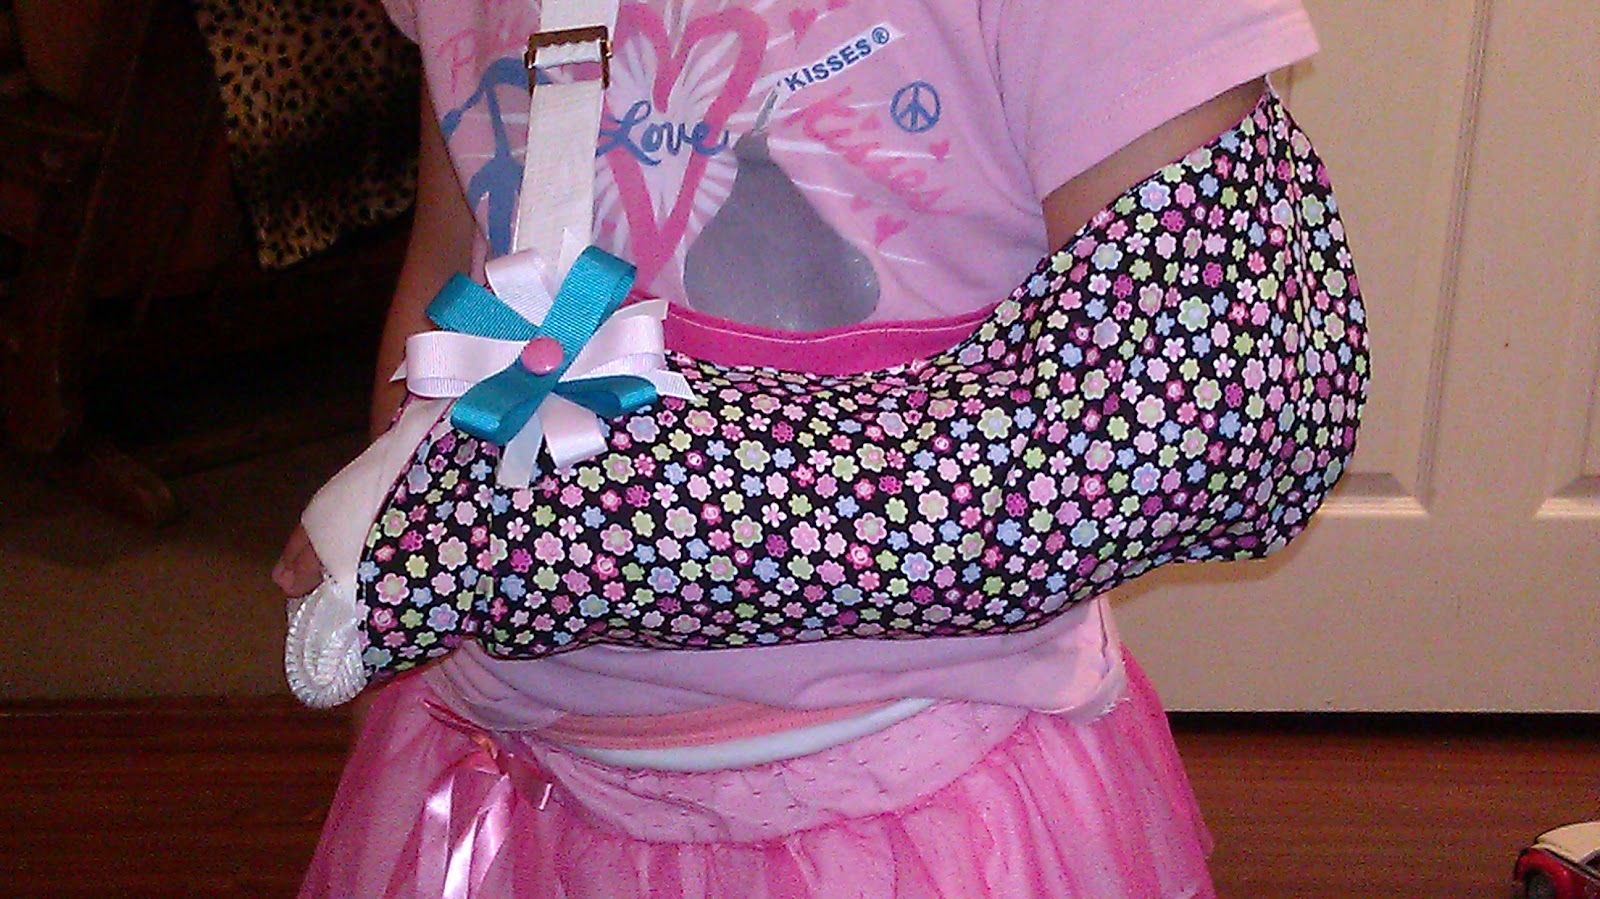
  What is that saying..."Out of pain comes art"? Well in this case at least a cute sling and a tutorial for all of you. I thought I should share just in case one day you mite need to make one to. Although I hope for your sake that day never comes, broken arms SUCK!

Onto the tutorial...
What you will need:
*Fabric (I used scraps that I had left over from another project)
*A stitch ripper
*Washable marker
*Scissors
* Iron
*Sewing machine and matching thread

First I took my stitch ripper and took off the piece that gos around your head. Set them aside because you are going to use them later.

Now lay out your sling on your fabric upside down and try to get it as flat as you can. You are going to use the sling as a pattern. When you have everything laid out the way you want it, trace around the the top (the side toward you) and the two sides (front and back), mark off ware the top strap comes out so you know ware to place it later. 
Now flip it over and line up the bottom with you lines you just made. Again trace the top and two sides. I used two different kinds of fabric so I cut this one out leaving enough for my seam allowance and lied it on top of my other piece of fabric and cut around it. when you have everything cut out iron everything so it is nice and straight. You want to iron the fabric you want for your INSIDE wrong sides facing each other and the fabric for the OUTSIDE right sides facing each other (the design facing the inside) with a nice crease at the bottom. *Sorry I didn't take a picture of the next part* Next you want to pin and sew the backs together (Ware the elbow will be), Just use your line you drew earlier as a guide.

 
When you have done that, put the outside fabric inside the fabric you want to be inside your sling. Make sure they are right sides facing each other. pin all the way around the keep everything in place. Also mark ware the piece that supports the elbow will be sewn, center it on your seem you just sewed. And check your other marks and make sure they are lined up. 
Now you are going to sew all the way around, leaving a opening for the piece that supports the elbow and the two openings for the piece that gos over the hand. Use your line you made earlier as your guide.

Trim around the hole thing leaving a little extra ware you are going to add all the other pieces. On your corners cut little slits into your fabric like the picture, be sure not to cut across  your sew line. Now use one of your opening and turn it right side out. Iron all of your seam out and straight. Put your pieces into the openings and pin in place. Now top stitch all the way around. I went back and used a zig-zag stitch to reinforce the straps.


Now you can add whatever you want to decorate it. I made a little flower and just hot glued it on. But you can use buttons, fabric flowers, or if it's for a boy you could put on some appliques before you sew it all together. 

So much better than the hospital one!

Good Luck!

Thais

Monday, September 5, 2011

Cute little tote turns into a car caddie tutorial

So are you guys ready for my AWESOME tutorial? See I knew you needed something to do during your extra day off for Labor Day!

Oh and I hope you like what I did to the place!?! I am sure I will change it a little more to get it to ware I want it but in the mean time it will be entertaining.

First things first this is going to have a ton of pictures (sorry) I am a hands on type of leaner and if a tutorial doesn't have a ton of pictures I can fallow I get lost... and for all you new to sewing, you need to see more of a step by step process so you understand what I am talking about and can fallow along.
What you are going to need:
*Canvas
*fabric for your design and handles
*Wonder under (2 sided interfacing)
*Matching thread 
*A thin one sided interfacing
*A ruler of some sort
*A fabric pen or washable marker
*Scissors and/or pinking shears
*A sewing machine and/or a serger

Gather everything you think you may need

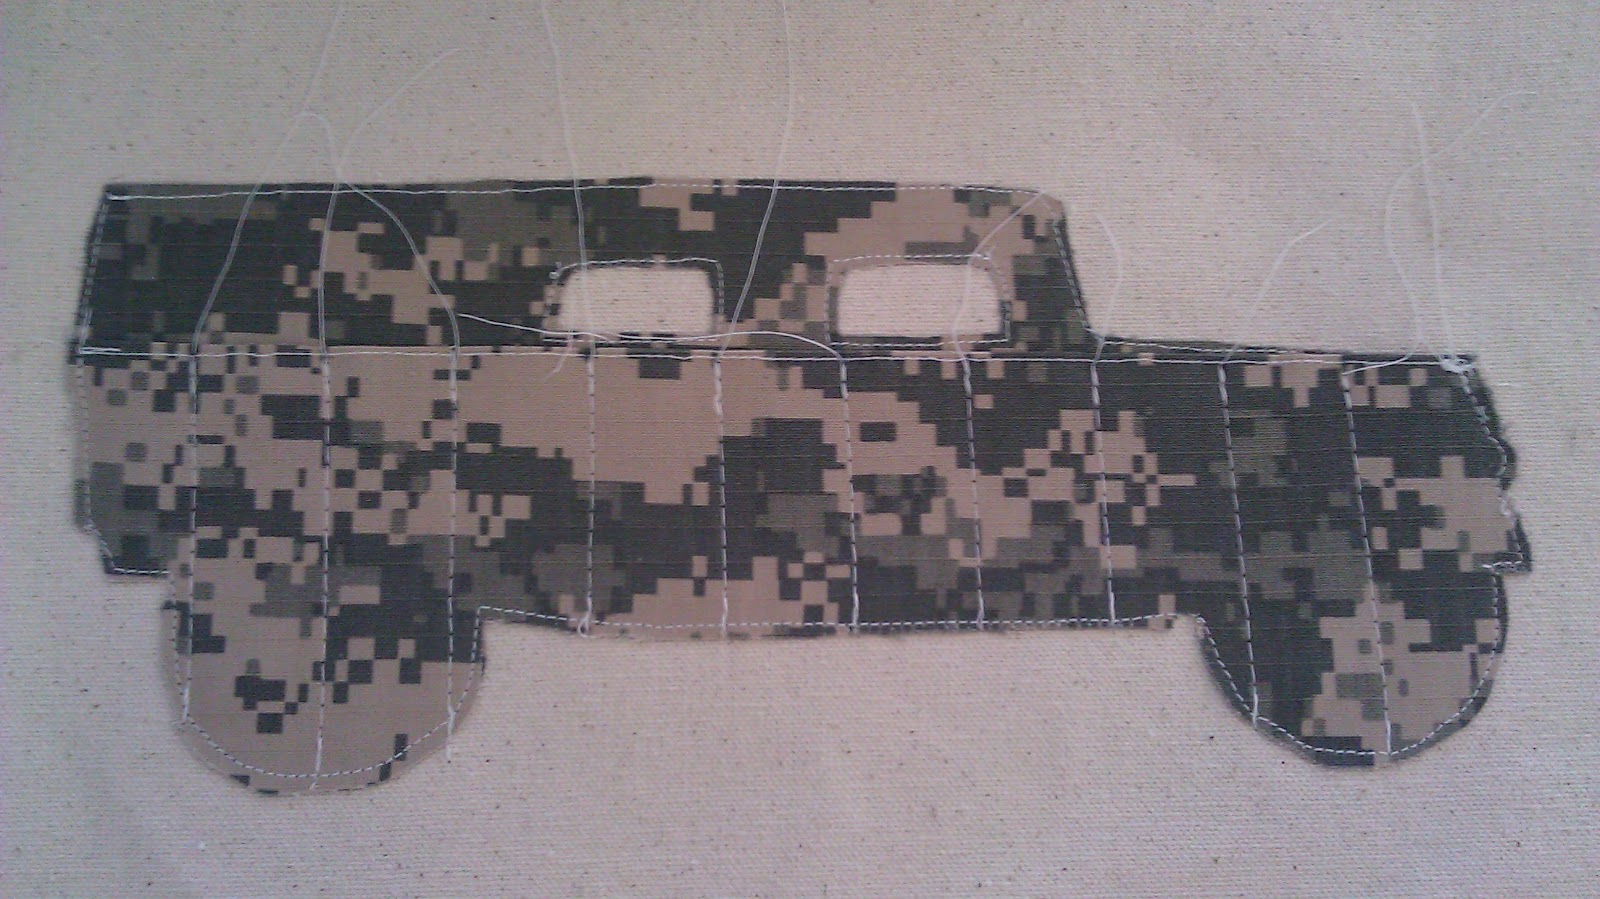
Whatever design you would like to use trace it onto your wonder under, fabric and one sided interfacing. I used my Cuicut to cut out the Humvee, but you can sketch something if you would like or print out a picture and cut around it.

For the piece of fabric you are going to use for the crayon roll estimate your pattern at about the half way point, but leave enough at the top just in case you will need it. Then cut everything out and lay it aside.

Now take your design and lay it on top of your canvas to decide how big you need to make your bag.

Use your ruler to make your lines strait and square, these will be the outside of your bag. Don't forget to leave a seem allowance.

Place your cut out piece of canvas on top of another piece and use your ruler to trace your lines then cut it out. Now you have both sides of your bag.

Take your two pieces of your design and lay the half piece on top of the full piece and fold it down and trim it until it fits the way you like it.

Press it down with your iron and top stitch it to hold it down. I also trimmed any extra fabric with my pinking shears.

After I top stitched it I layer them and pined them together to make sure I liked how they fit.

While they were pinned together I took my ruler and made little marks 1 inch apart. This is wear you are going to stitch down to make your spaces for the crayons.

I took it all apart and ironed on my wonder under on to my full piece and one sided interfacing to my half pieces.

With any kind of interfacing you want to use a medium to low setting depending on how hot your iron gets (mine sucks so I use the silk setting, medium) TIP: If your iron is to hot it will make it so the interfacing doesn't stick)

Once your wonder under has cooled peal off the paper.

Center your design and iron it into the canvas. Make sure to leave enough room at the top to be able to fold over  1 1/8"

Let it cool again, if you don't the sticky stuff will gum up your needle and will skip stitches. Once it is cool stitch around your design. I used a straight stitch, but if you would like you can use a zig-zag. I guess it depends on the look you are going for.

Also make sure your sewing machine setting it at a 2.5, you want to have a little reinforcement.

Go slow around any little details. Also if it has a lot of curves make sure your needle is down and lift your presser foot to adjust your fabric, it makes it so much easier.

For any little details like the windows, move your needle down until you have it touching the fabric ware you want your stitches to be and then put your presser foot down. this way there is no guessing.

Next lay your half piece on top of the piece you just sewed and pin in place. I only had to use a few straight pins, use as many as you think you will need to keep it in place so it doesn't shift. Now sew all the way around your half piece leaving the top open.  TIP: More is always better and you can always remove them as you sew if they are in the way.

Check the marks you made earlier. Make sure everything lines up and are still right.

You are going to use a basting stitch for the next part. A basting stitch is a 5.0 or the highest your sewing machine will go.

Line up your marks you made with your needle again like you did earlier around any small details so your stitches will be the right width apart.

If you are afraid your lines won't be straight you can use your ruler and make small little dots along your line, then just fallow the lines. If not just sew all the way to the bottom of your design. Keep doing this along all of your marks across. TIP: Make sure you back stitch at the beginning and end of your lines and any time you start and end.

When your done it should look like this. Trim any lose threads and admire your work so far! If you don't like how anything looks get out your stitch ripper and resew anything you don't like.

Oh! It's going to be SO cute!!
Check to make sure your crayons are going to fit.

Now place your 2 pieces of canvas right sides facing each other (So your design is facing the inside). Start at the top of the right side *Make sure you back stitch* sew straight down until you get to the end leaving enough for your seam allowance and with your needle still down lift your presser foot and turn your fabric. Do the same all the way around. TIP: Again if you are afraid your line will not be straight get out your ruler and draw a line ware your sew line will be, then just fallow the line.
After I was done I used my pinking shears to cut all the way around so the frying would be minimized. Or if you are lucky enough to have a surger just serge around it.

On the corners trace a line about a inch and a half in.

Pull the two sides apart and line up the seams and the points of the line you made and sew across. If you afraid your line wont be straight draw a line to fallow. There is no need to cut your corners, they will help your bag stand up.

Turn your bag right side out, and make sure everything lines up. Your almost done!!!

This is what the bottom of the bag will look like.

Now for your straps. I just kinda winged it, but you can measure and draw a cut line. These were about 4 inch wide and 30 inch long. After you cut your first piece lay it on top of the other piece and use it as a guide.

One of the straps are going to be two pieces so you need to cut one in half then over lap it by about a inch. Lay both pieces side by side then cut them the same.

On the pieces you cut in half, fold over 1/8 inch and press with your iron. (This is also a good time to iron all of your pieces if you were lazy like me and did not do so before)

Next fold up the bottom 1/3 of the way and press. TIP: I sewed the end piece to hold it down, you don't have to do that.

Then fold down the top 1/3 of the way and press. (I put a piece of the wonder under paper in between to show you what it should look like)

Then fold it in half and press. TIP: I did it this way so the strap would be thicker, if you want to skip a few steps you can cut the width smaller fold in half right sides facing each other and press, then stitch around leaving one of the short side open, cut your corners, turn it right side out, and top stitch around the three sides.

Now top stitch around the three sides.

Now you are going to fold down and press the top of your bag about 1/8 of a inch.

Then fold it down again about a inch and press. Then line up your strap ware you would like it to be and tuck your raw side under the fold and pin. Do this for all four ends.

After you have pined it ware you want them, pin the two pieces that we cut together over lapping a inch or so and check to make sure your straps are even. If they are not adjust and re pin at the fold until you like it.

Now you are in the home stretch!!! You are going to sew all the way around your bag at the bottom of your fold.

Then sew all the way around the top of your fold. TIP: By doing this it is going to add a little bit more stiffness to the opening so when you hang it it will stay open and not fold in on itself.

For the last step! I used snaps (you can get snaps from KAMSNAPS.com) but you can also use hook and loop. Leave about 1/8 inch from the edge. You are also going to place either a snap or hook/loop to the bottom of the strap 1 inch away from the top of the bag as well, but just on the straps that were cut in half.

Now you are ALL DONE! Good job!
So cute! I made this for a friends little boy for his birthday, he wasn't to impressed, but hey he's only 2. His Momma liked it though! She strapped it onto his stroller to put all his other goodies in.


Good Luck! 
Post if you have any questions. This is my first tutorial so I could have missed something, but I hope I didn't. 


Thais